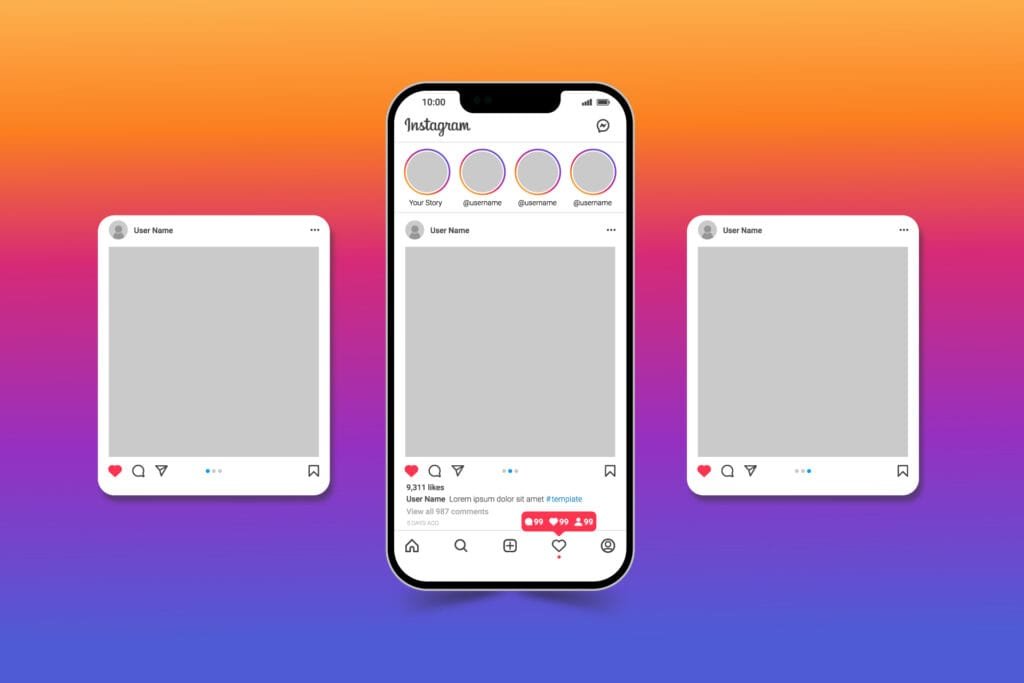
In today’s fast-paced and ever-changing world of graphic design, Photoshop mockups have become an indispensable tool. Whether you’re designing a logo, designing a website, developing product packaging, or working on branding materials, mockups let you convey your ideas in a realistic and visually impressive way.
In this article, we’ll provide The ultimate guide to creating stunning Photoshop Mockups that will impress your clients and take your designs to new heights.
Table of Contents
Introduction to Photoshop Mockups
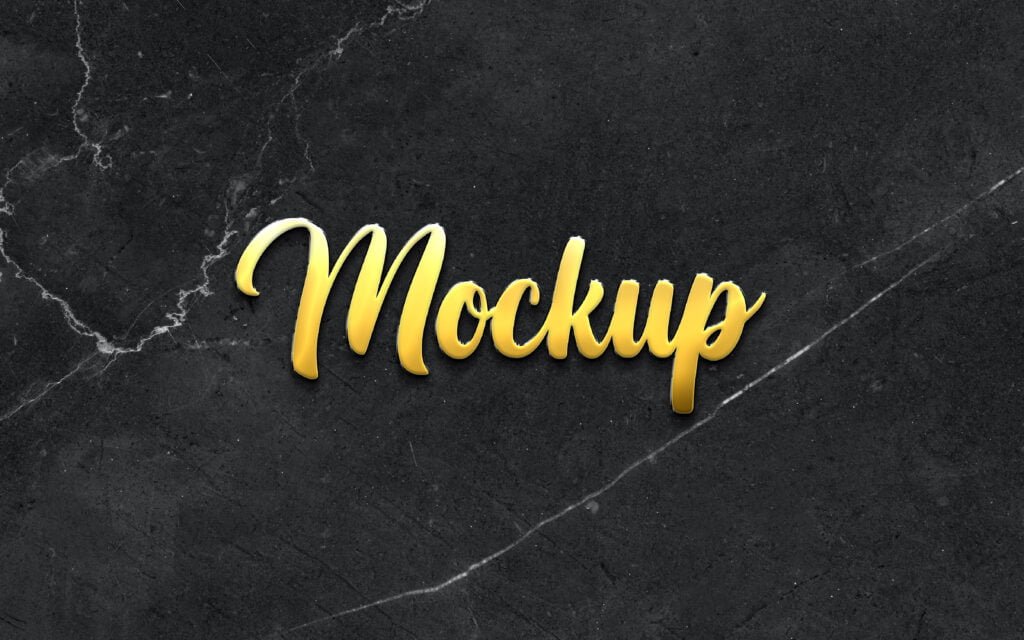
Photoshop mockups are actually a type of visual representation that allows designers to show their designs in a real environment. A mockup is a layered PSD file, which allows you to edit various elements, add images, and place your design in a certain order. These mockups are a great way to present the final design result to clients or team members, as they put the design into a real-world context.
Why Use Photoshop Mockups?
There are several key benefits of using Photoshop mockups, which make them an essential tool for graphic designers:
1. Professional Presentation:
We can use mockups to showcase our designs to clients in a more professional way. This is the best way to impress the clients effectively. A good and professional portfolio is the key to success for graphic designers, so with the help of mockup design, we can present our skills and design more effectively, also good mockups in a portfolio can help you to get more clients and new jobs.

2. Non-destructive Editing:
In Photoshop you can use smart objects that will help you to create and edit your designs without any damage, if in the future you want to restore your design to its original form then you can also do that with just a single click. Non-destructive editing of Photoshop, helps us to create more professional-looking and trendy mockup designs.
3. Ease of Client Approval:
With the help of mockup design, you can give your clients a clear idea of the result of the design, making the approval process easier. With the help of mockup designs, clients can make decisions more easily by seeing their designs or products in a real environment through the help of mockup designs.
Step-By-Step Guide:
Here are some of the main steps you can follow to create professional and realistic mockup designs in Photoshop. Let’s describe the process in detail.
1. Necessary Resources:
To create the best mockups you should choose high-quality resources. You can find these resources from stock photo websites or design asset marketplaces just as Adobe Stock, Shutterstock, and Freepik. These resources are the basic ingredients that make your mockup look realistic and professional. For example, if you are creating a product packaging mockup, you will need images or templates that represent the real-life use of the product and then you can use those images or templates to create mockups.
2. Photoshop Workspace:
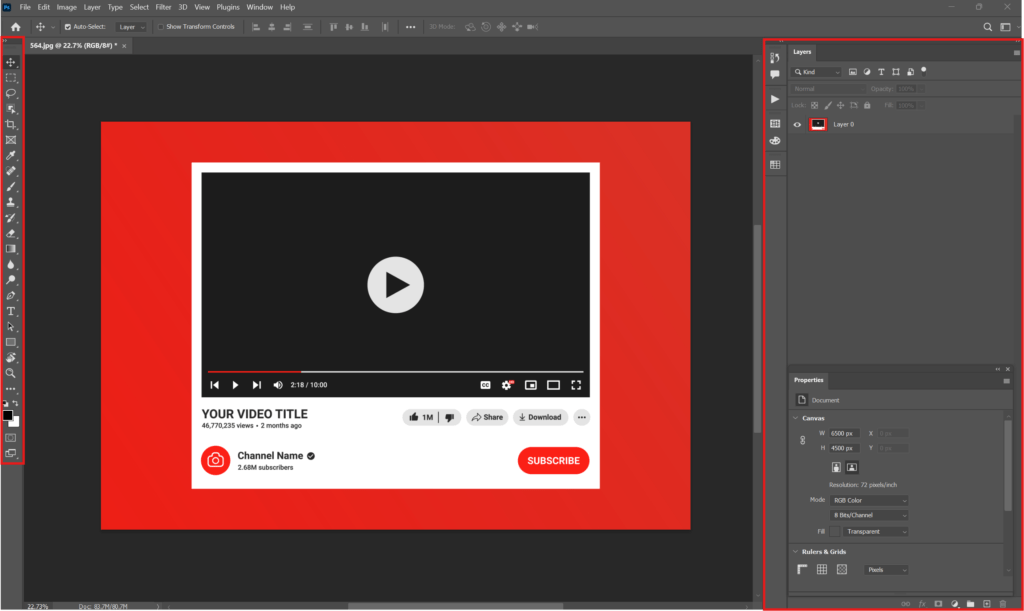
After getting the image or template from the assets marketplace, the next step would be to organize your workspace in Photoshop so that the tools you need are readily available. Customize the Layers panel, Properties panel, and toolbar to suit your needs. Make sure you have all the necessary shortcuts and tools readily available to use the perfect tools for the mockups and your work continues without interruption.
3. Template Selection:
Choose the right template according to your project. This template will provide the base structure of your mockup. When choosing a template, make sure that it fits your product or brand. If you are creating a website design mockup, choose a template that best reflects the layout and navigation of the web pages.
4. Applying Design:
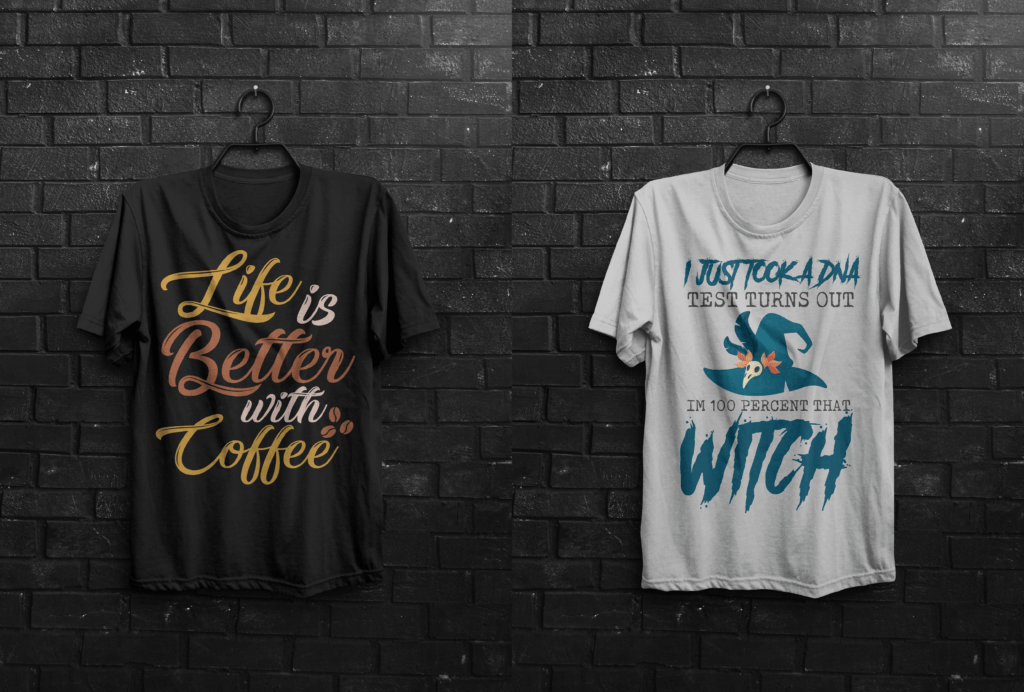
Add your design to the template. This may include logos, t-shirt design, website screenshots, or product packaging. You can easily update your design using Smart Objects in Photoshop. Smart objects are containers that store your design inside a template, and whenever you update it, it’s automatically updated in the template.
5. Enhancement:
Add realistic techniques to your mockups such as shadows, textures, light sources, contrast, highlights, levels, and suitable blending modes. Enhancement can make your mockup design more professional and realistic. Shadows and lighting effects add depth and realism to your design, while textures make your product surface more authentic.
6. Retouches:
Add backgrounds and additional elements to your mockup that enhance your design and that will make your design more attractive but don’t use extra elements in your mockups, always make your mockups minimal and modern. Make sure all elements are connected correctly and according to your design intent. When choosing a background, make sure that it matches the theme of your product or design and enhances its presentation.
Tips for Creating Stunning Mockups
Creating mockups is not just technical but also involves keeping in mind the principles of graphic design. Let’s consider some important tips:
1. Theory and Fundamentals principles:
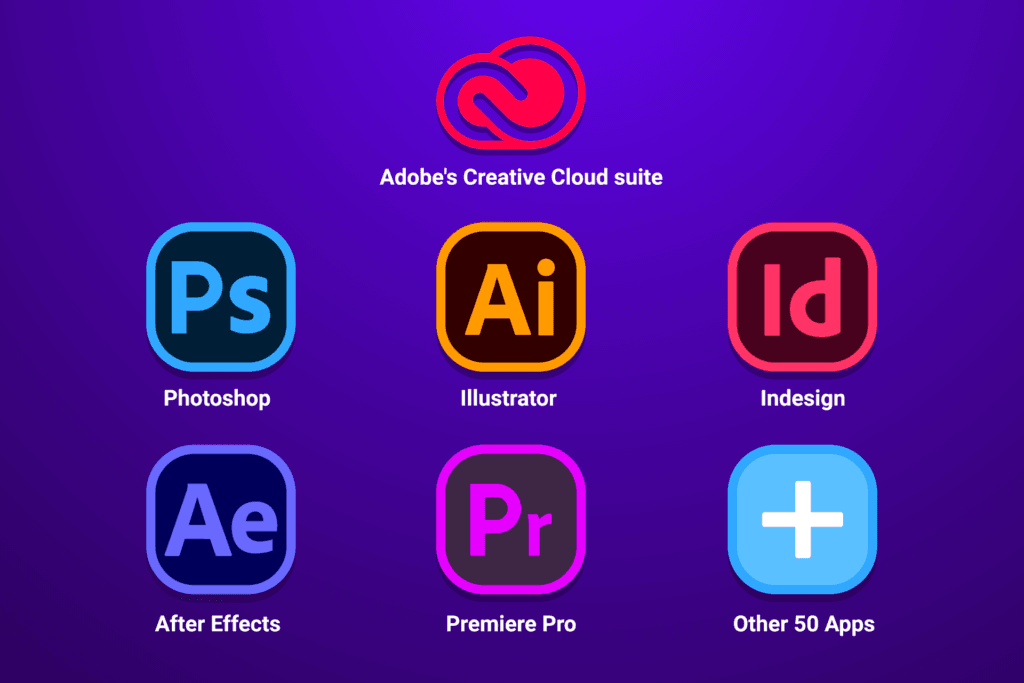
Keep important design principles in mind when creating mockups such as composition, balance, symmetry, color theory, design theory, and use of typography & font. These rules make your design more professional and appealing. The composition means how your design elements are arranged. Balance means that all the elements in your design are evenly distributed and no part is too full or too empty. In the graphic design world, Adobe Photoshop and Adobe Illustrator both are the most important tools. Knowing the detailed difference between Adobe Photoshop and Adobe Illustrator will help you to design more professional mockups and also help you to become a successful designer.
2. Avoid Common Mistakes:
Avoid common mistakes while creating mockup designs such as using low-resolution images or templates, bad color choices, or cluttered designs. These mistakes can spoil the presentation of your mockup and make your design look unprofessional. Always use high-quality images and keep your design simple and clear.
3. Realistic Techniques:
Add realistic elements to your mockups such as shadows, lighting effects, and textures. Apply these effects in the best possible way using various Photoshop tools. These techniques make your mockups more realistic and bring your designs to life.
Exporting and Saving the Mockup Design
When your mockup is ready, saving and exporting it is also important. Let’s see how we can do this:
1. Correct Format:
Save your mockup in Photoshop in the correct format such as PSD, JPG, or PDF. Saving in PSD format means all layers of your mockup will be intact and if you want to edit anything in your mockup you can edit it again in the future. JPG and PDF formats are more compressed and recommended formats and can be used for sharing with clients or team members.
2. Export Quality:
Export your mockup for different uses, such as for web or print, and ensure that quality is maintained during the export process. When exporting for the web, use the JPG or PNG format, which provides faster loading times and higher quality. For print, always use high-resolution and CMYK color mode with 300 resolution to maintain the quality of your mockup design.
Final Thoughts
Photoshop mockups are an important tool for graphic designers to help you present your designs effectively. By using the tips and techniques in this guide you can create stunning and realistic mockups that will impress your clients and make the design approval process more easy for you. Remember that the best mockups are those that are based on the principles of realism and are created keeping in mind the basic principles of design.
